Happy Halloween from Steam Cat! I made a lighted scarf last Christmas and posted a video on my Facebook Page. I was kicking myself for not documenting it at the time. Last week I came across some very inexpensive scarves and bought them. I had ordered lights from Amazon before I even left the store!
Here's a scarf and some lights.
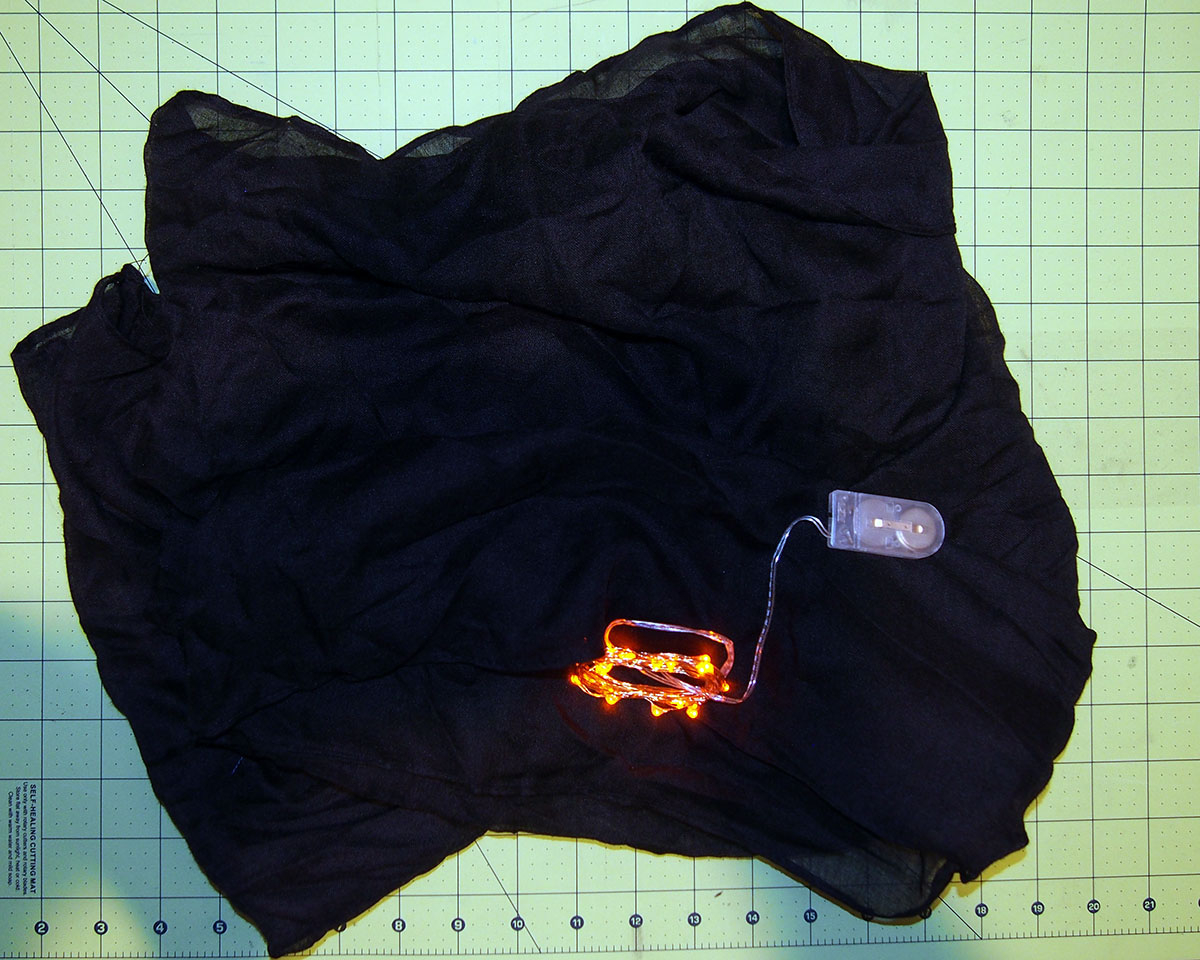
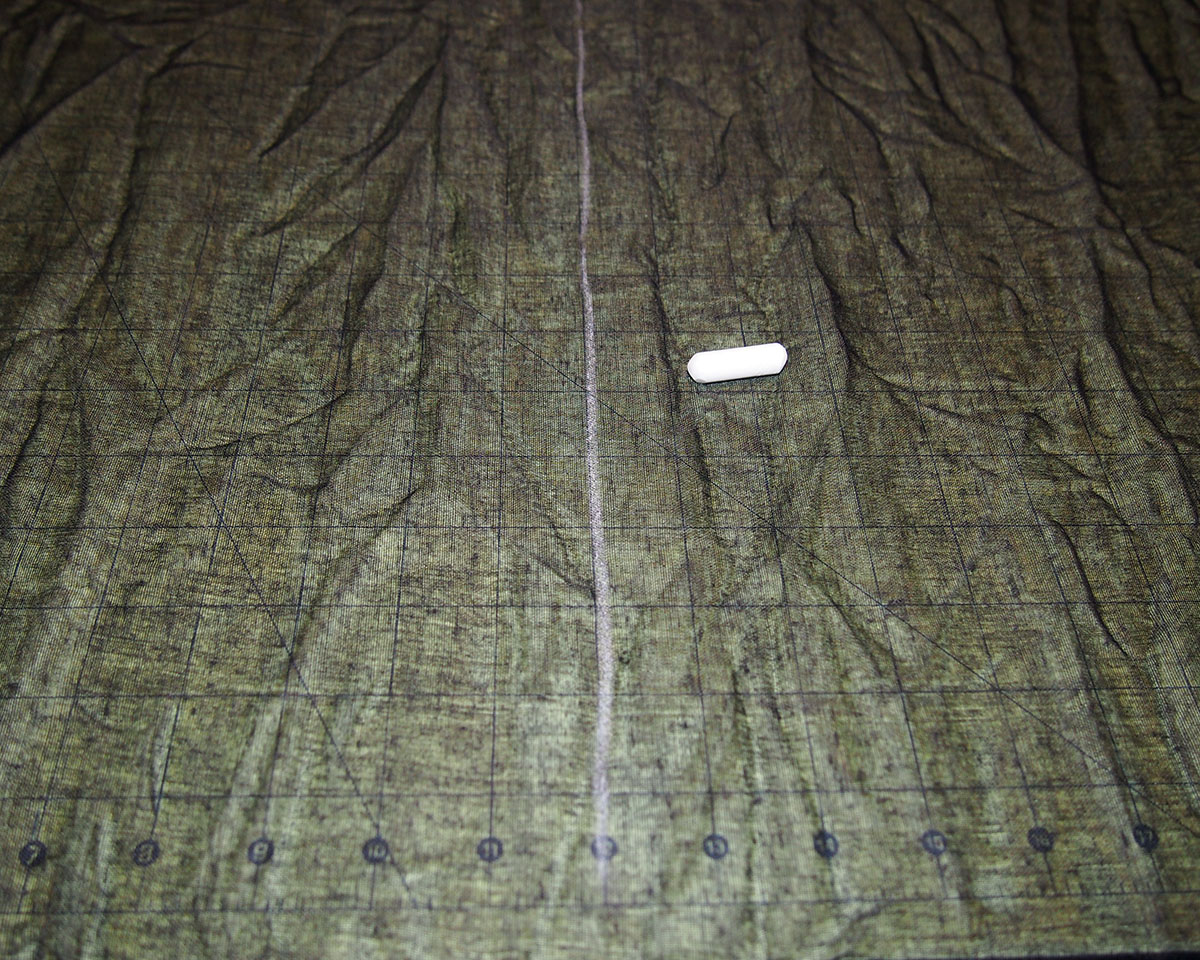
It's a basic black infinity scarf, but it turned out to be very thin.
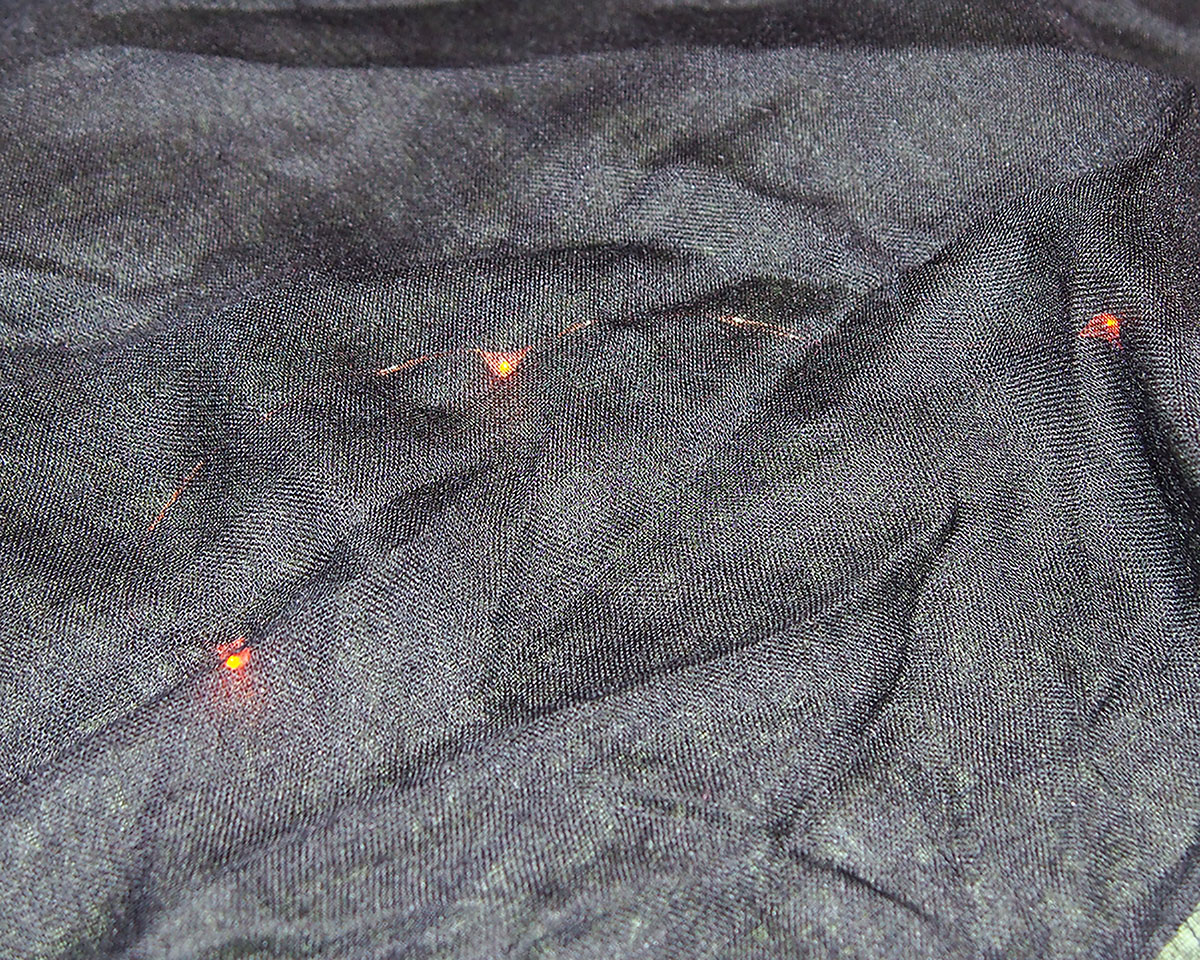
As you can see, the gold wires show right up. So I decided to color them. I've had great success with paint markers, but I had a black wide Sharpie on hand, so I used that.
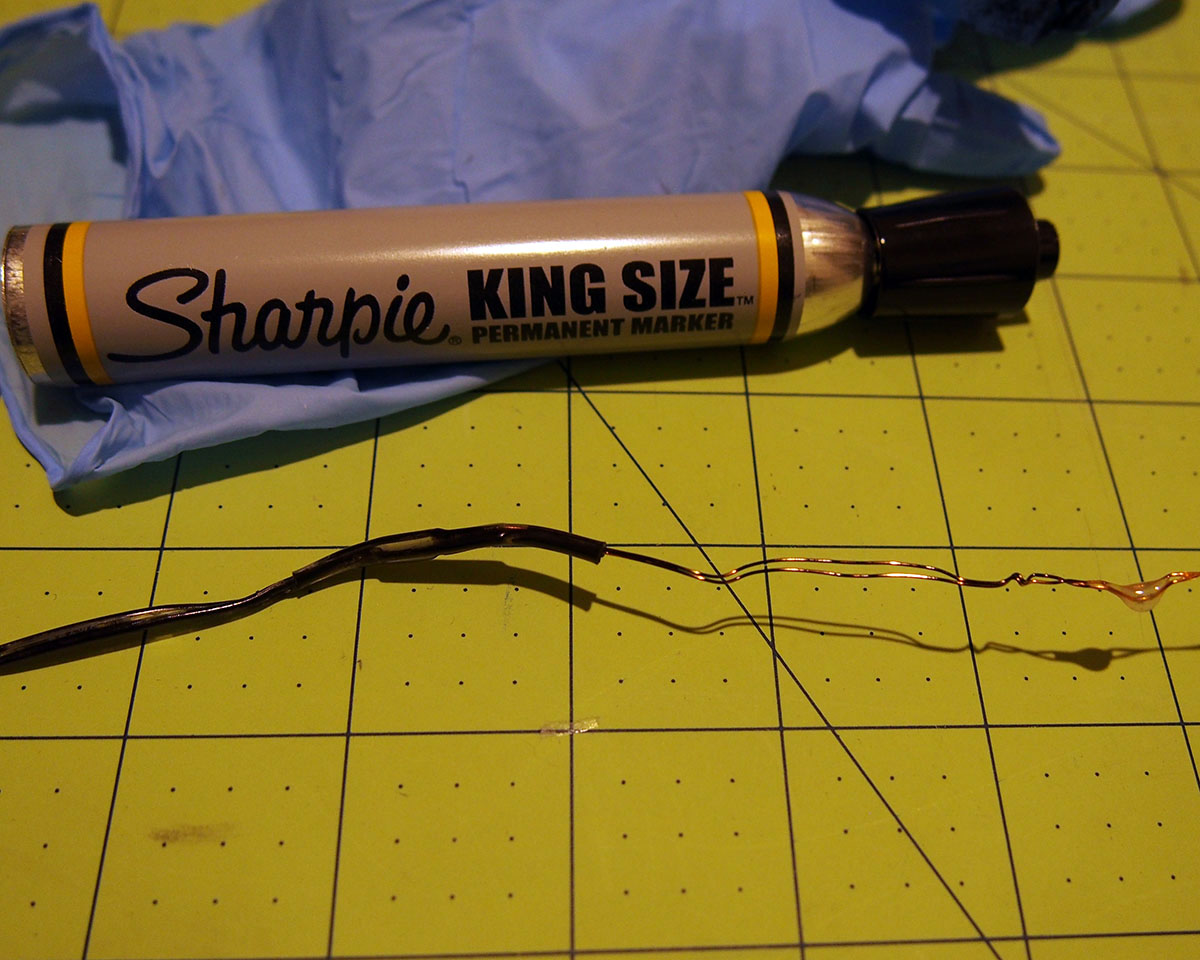
Always work in a ventilated area. I wore nitrile gloves to protect my hands. You can kind of see here how the process works. It's not perfect, but the end result is acceptable:
My preference would be to make a channel to run the lights through. Normally I would make it wide enough that I could snake the lights out with a string for cleaning. That wasn't going to be possible here (I tried, and boy, did it look bad!) so I sewed the lights directly to the scarf.
But before I did that, I needed to mark where the lights would go. This scarf is 24" wide, just the width of my cutting mat. This made it easy to draw a chalk line down the center. I drew it on the front so I could easily wipe it off.
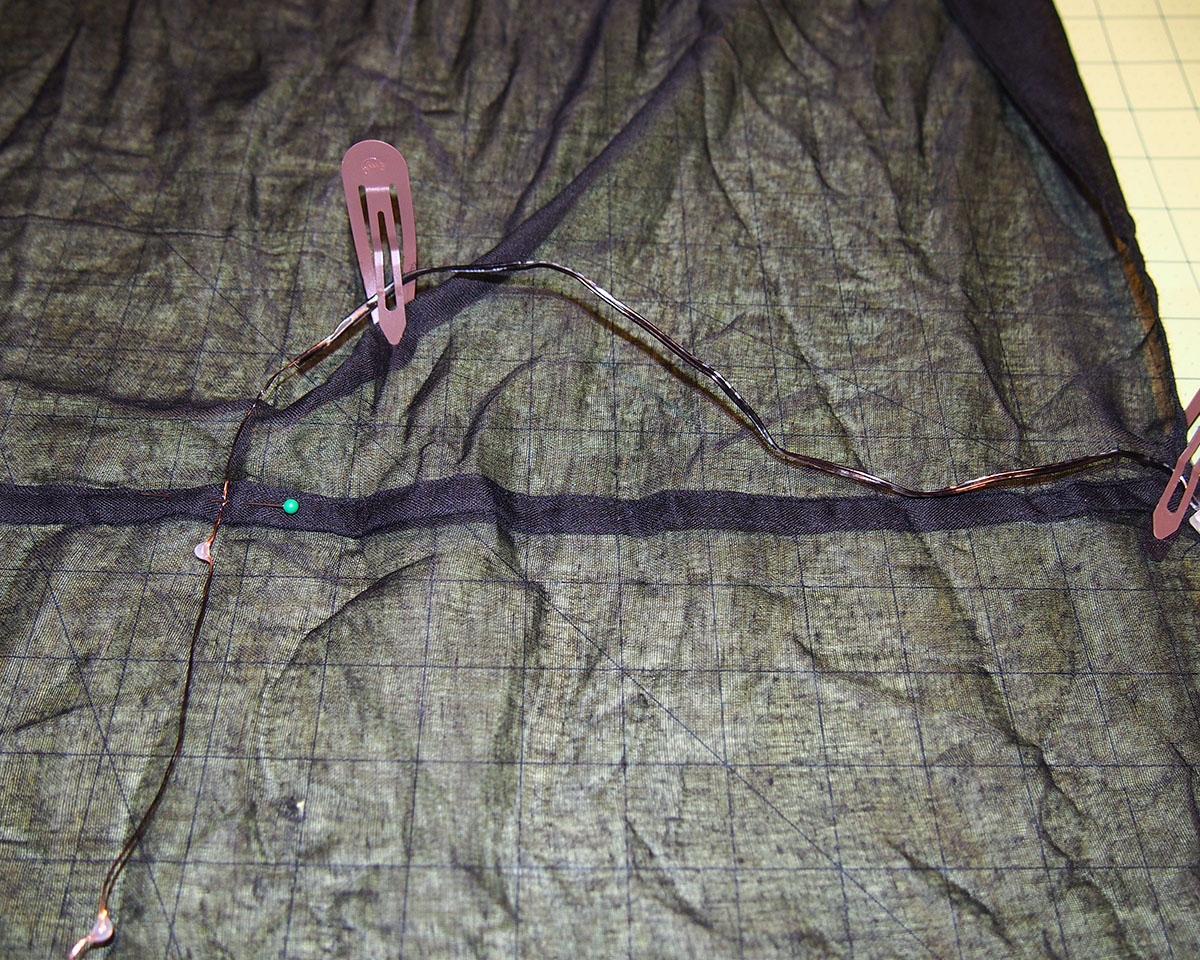
Next I turned the scarf inside-out, pinned the top light to the seam, and then used a clip to keep the light in place. That darn gravity will get you if you don't. Ask me how I know this. ;-)
For my next trick, I lined it up on the sewing machine and carefully sewed the widest and longest stitch available on my machine over the lights. When I got to a light I would do a locking stitch, pick up the presser foot, straighten the material from the previous light to that spot (it bunches if you don't) and then move the foot beyond the light and start again.
Go slowly and use caution. If you hit a wire with a needle, you're likely to break a wire. Unless you have mad soldering skillz, you're sunk.
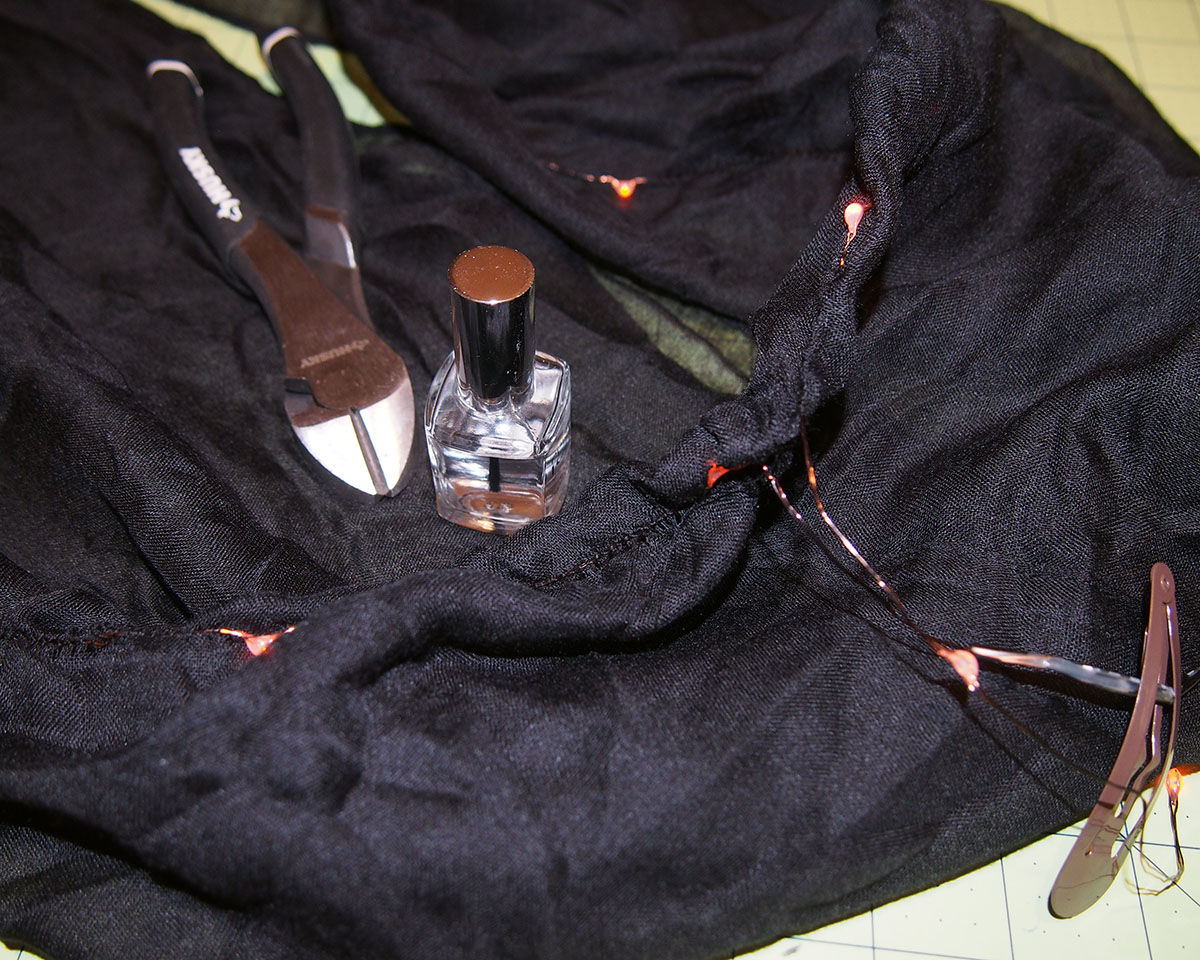
When you get to the end, you may have lights left over. I cut the end off with diagonal pliers, sealed the end with nail polish (this step isn't necessary, but why take chances?), and then made a little coil using my needle nose pliers so the end wouldn't slip into the stitching. It doesn't cause problems to cut these lights to the length you want. (If use only half the lights for one project, I'll solder the other half onto a battery holder for another project!) I curled up the rest of the wire between the battery pack and the first light and wrapped electrical tape around the middle and then stitched it down along the seam.
Here's the scarf at the seam before I did all of the above:
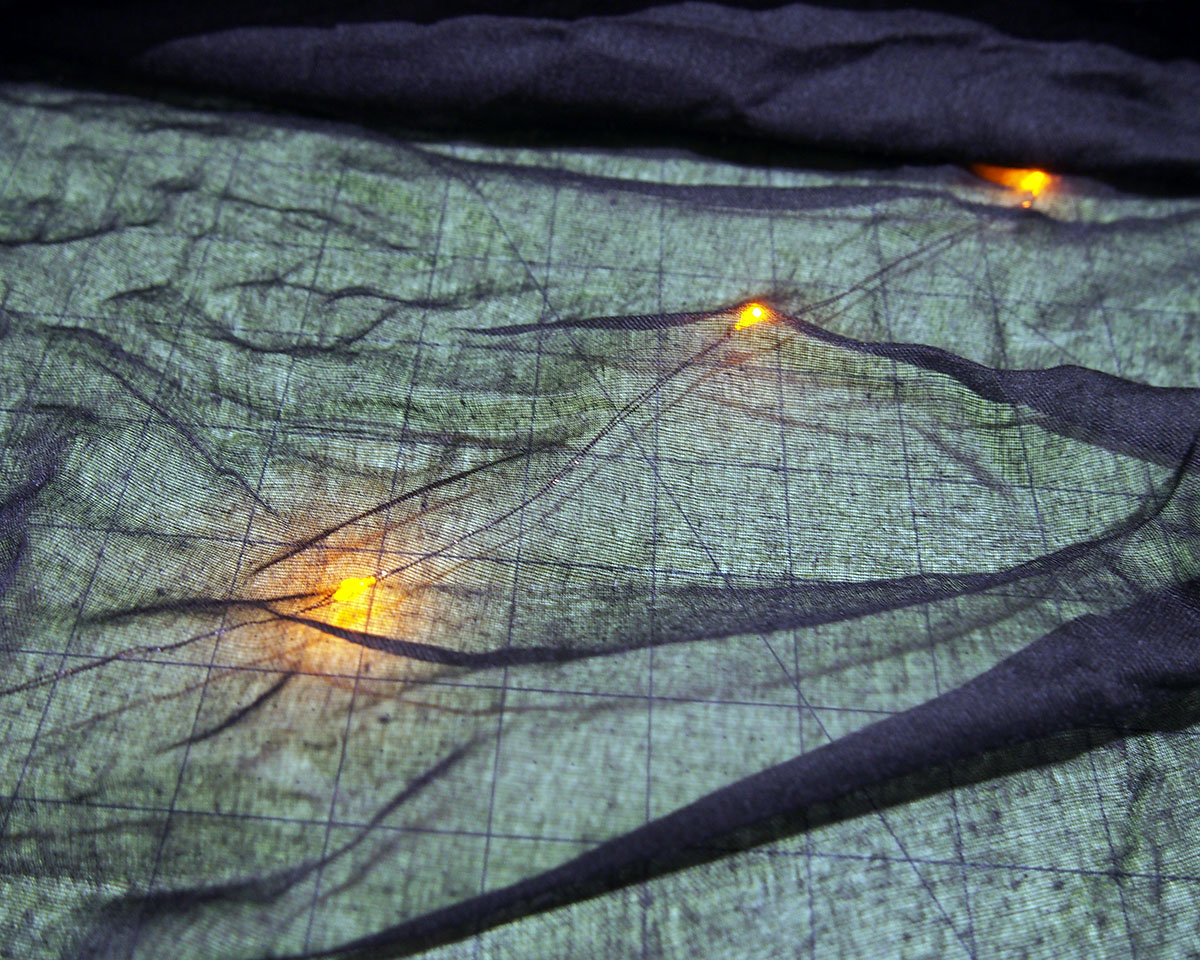
And here is the finished product:
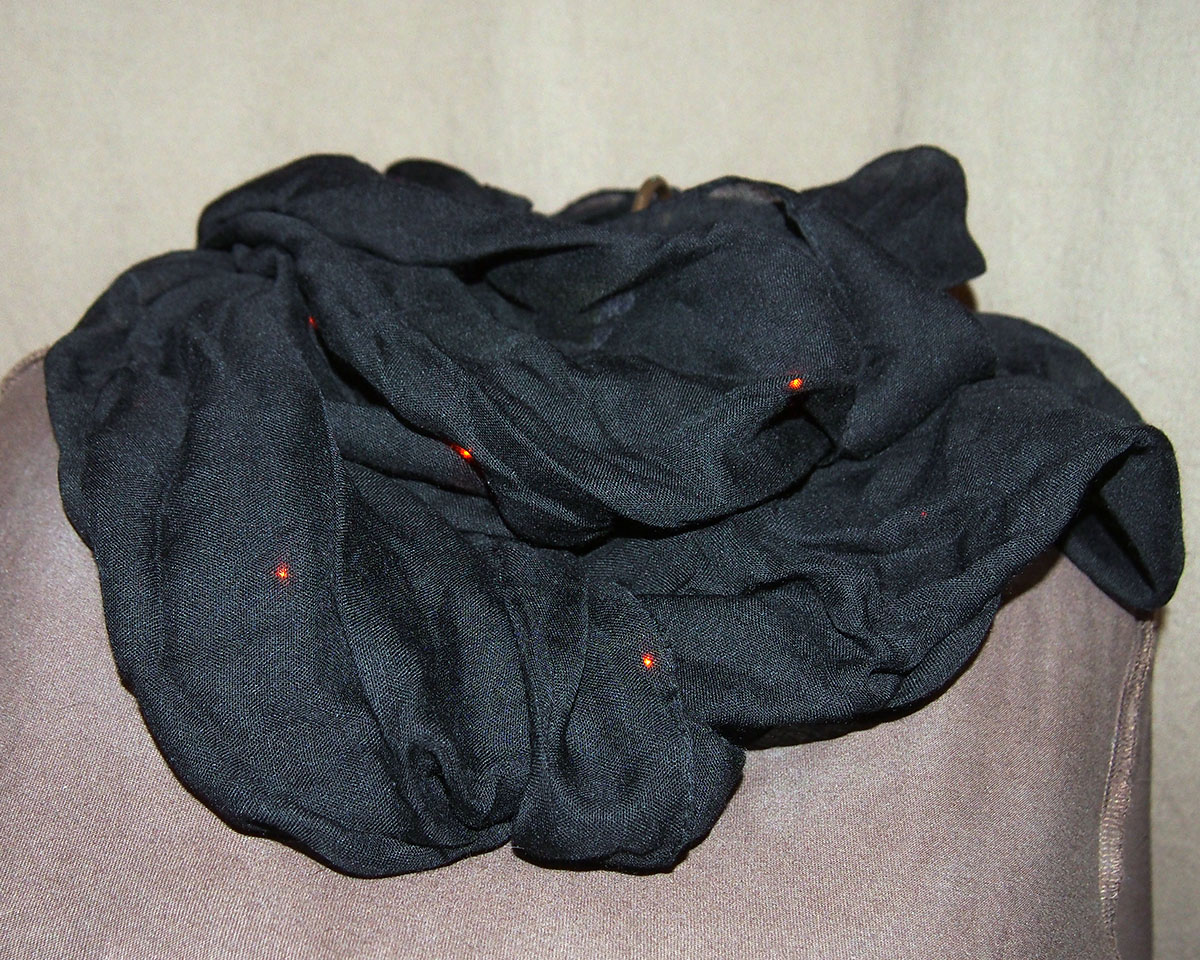
If this fabric weren't so sheer and flimsy, I'd have put in a pocket for the battery pack, but sewing it up will work fine here. This scarf is so cheap that I don't think it'll make it through too many wearings. But I bought them for experimenting and for a tutorial, and I think they came out pretty good!
Are you planning any fun with lights for Halloween or the upcoming holidays?