So you've taken the tea light apart and put it back together, and tested it. Let's continue.
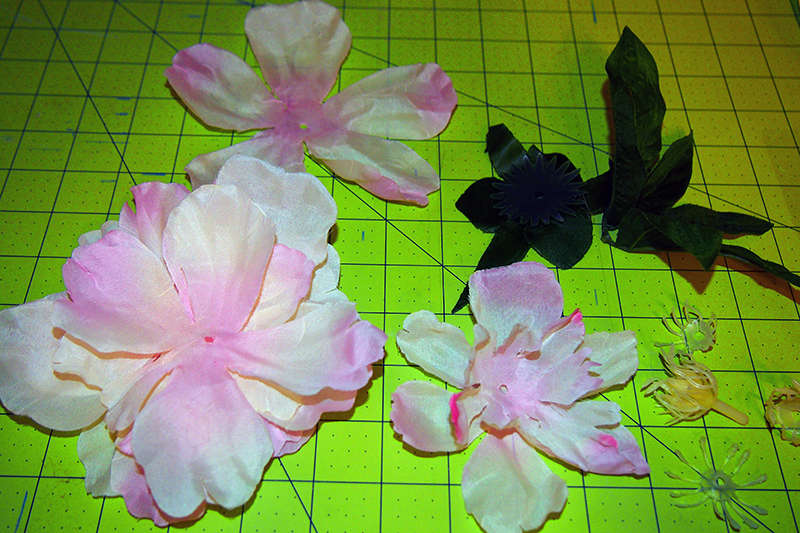
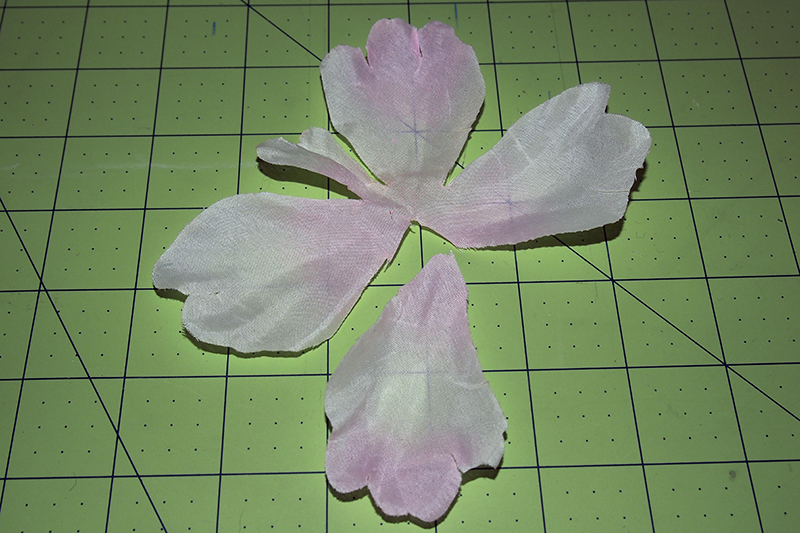
5. Take the flower apart. Set aside the leaves and the bottom layer of petals. Set aside the top two layers of petals, and then stack the other layers as they would go on the flower. (This may vary depending on the flower you choose. You'll want to experiment with petal arrangement before you start gluing items into place.)
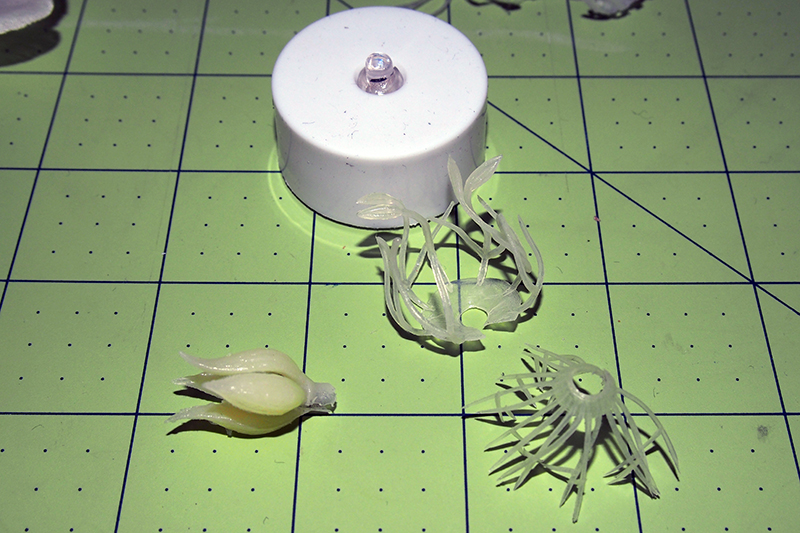
6. Pull the plastic pieces in the center apart and snap one side to make an opening.
7. In my flower there was a plastic piece underneath the two top layers of petals. I snipped the edge of that and glued it to the top of the candle around the LED to give the petals some shape. You may skip this step if you wish.
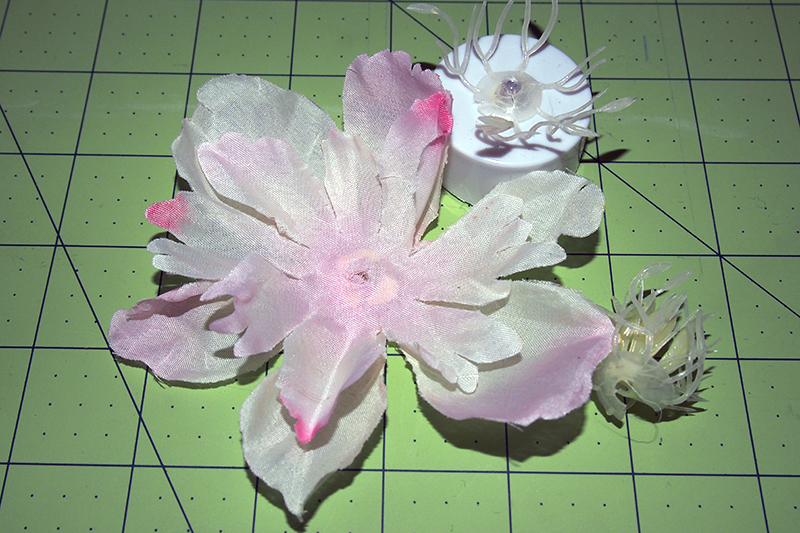
8. Use your scissors to ream out the holes (carefully!) in the top two layers of petals so they'll fit over the LED. Put a bead of hot blue just outside the center of the hole on the underside of the petals and slip it over the LED. Repeat with the top layer. Glue in the other plastic pieces. You may or may not want to use all of them depending on your flower or the look you want to achieve.
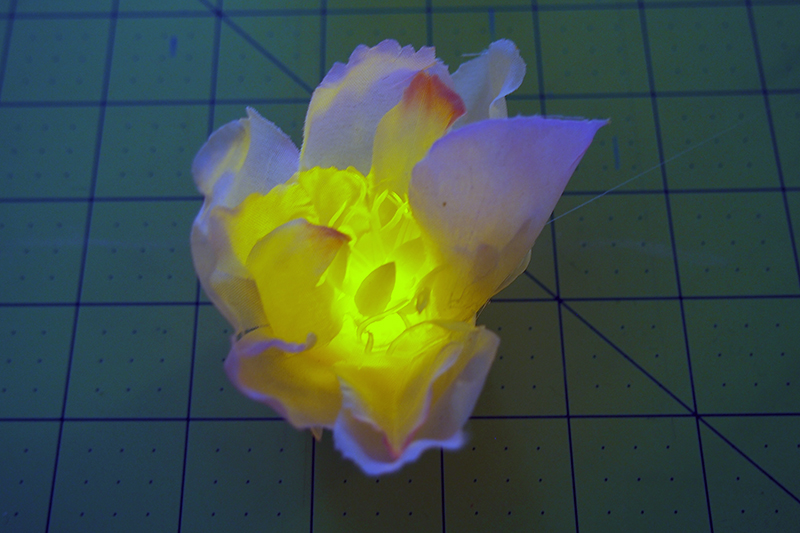
9. Test the tea light. You should do this periodically, just to be sure nothing got knocked out of place.
10. Take the top petal layer off of the next stack and snip the petals apart. I simply cut down to the center hole.
11. Put a dab of hot glue on the bottom inside of the petal and blue it to the candle. The "point of the petal should be below the top edge of the tea light, but not at the base. Glue the other petals in that layer around the tea light, spreading them out evening. They don't have to be precise, though. You'll want the petals to each to between a pair of pair of petals on the layer above, pretty much like a natural flower.
12. Repeat with each layer of petals. You'll get a feel for how it should go together. Move each row just a little lower. When you're finished, the petals should entirely cover the outside of the tea light.
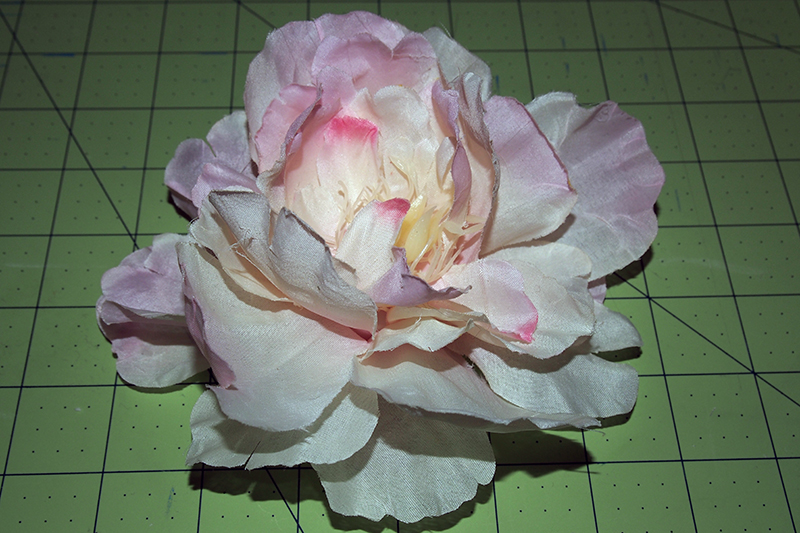
13. Test the light again.
You're almost there! Go to part 3.